SSH keys and SSH access
Falak does not need SSH to manage servers (the agent dials out), but you may want it. Falak keeps authorized keys for the falak user in sync on every server.
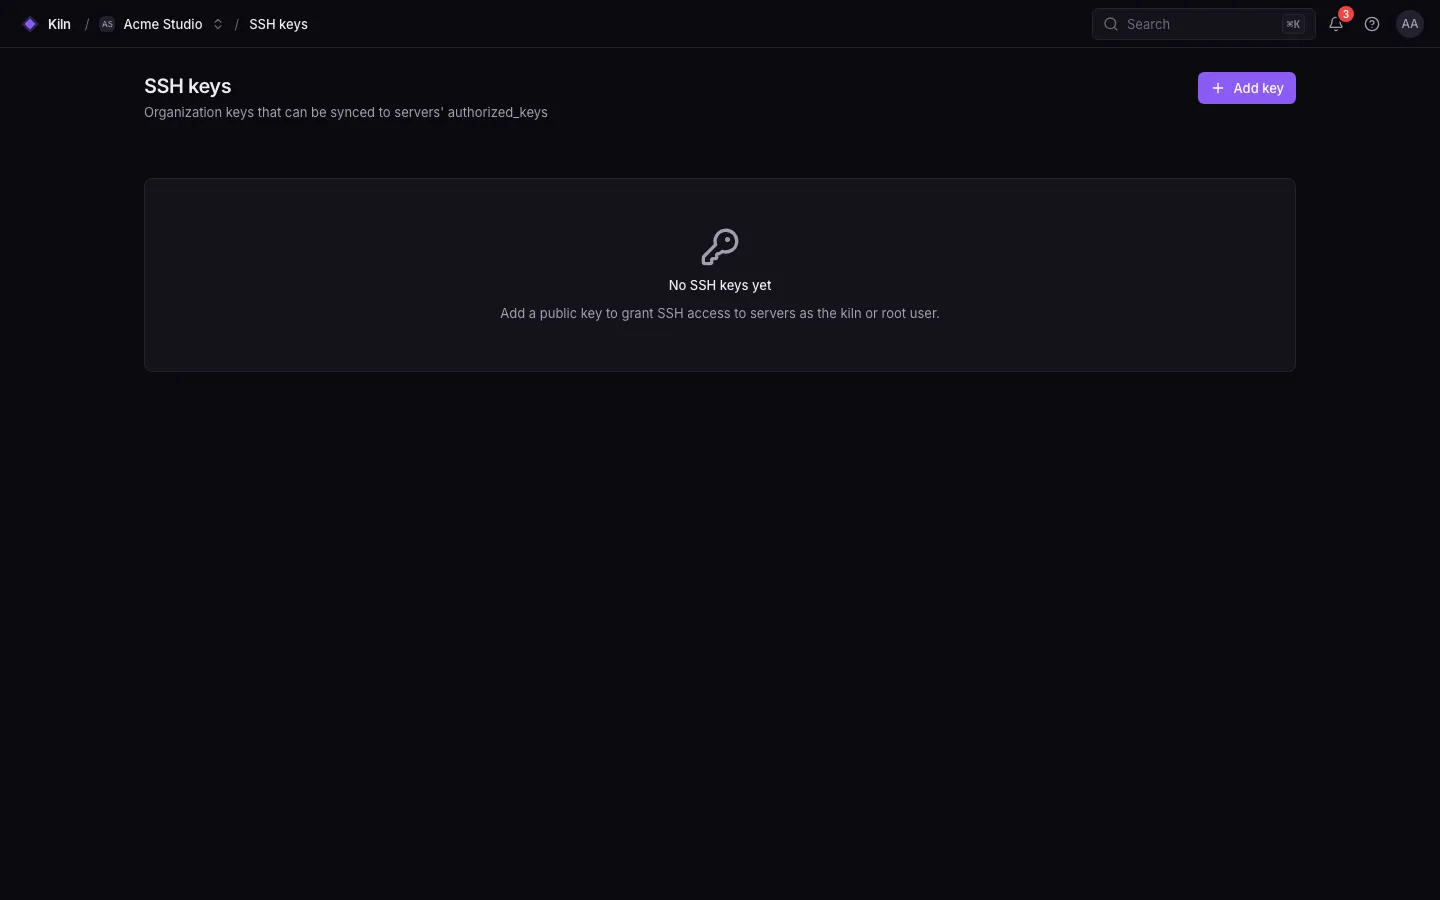
Add an organization key
Section titled “Add an organization key”- Open Settings → SSH keys (or ⌘K → SSH keys).
- Paste your public key (for example the contents of
~/.ssh/id_ed25519.pub) and name it. - Choose it when creating servers, or attach it to existing servers from the server page → SSH keys.
Keys are installed for the falak user once the server is provisioned. Managing keys needs ssh_keys.manage (owners, admins, developers).
Connect
Section titled “Connect”ssh falak@203.0.113.20# or, with the CLI, by server name:falak ssh app-1falak ssh app-1 --user rootfalak ssh app-1 -- -L 5432:127.0.0.1:5432 # extra ssh arguments after --falak ssh looks the server up by id or unique name and runs ssh falak@<ipv4> (with -p when the server uses another SSH port; --private uses its private IPv4). See CLI commands.
What the falak user can do
Section titled “What the falak user can do”| Home | /home/falak, shell /bin/bash |
| Groups | www-data (and docker when Docker is installed) |
| sudo | None |
| Owns | Non-isolated sites in /srv/falak/sites |
For root access, use your provider’s root key (root login with keys stays allowed: PermitRootLogin prohibit-password), or the web terminal.
Next steps
Section titled “Next steps”Web terminalA shell without SSH.
CLIInstall the falak CLI.